


Drawing a bird can be a delightful and rewarding experience, allowing you to capture the beauty and grace of these winged creatures on paper. Whether you’re a seasoned artist or a beginner looking to hone your skills, this step-by-step guide will walk you through the process of drawing a bird with ease. From sketching the basic shapes to adding intricate details, each step will bring you closer to creating your own masterpiece. So grab your pencils and paper, and let’s dive into the wonderful world of bird drawing!
Gather Your Materials

Before you begin, make sure you have all the necessary materials on hand. You’ll need:
- Drawing paper
- Pencils (HB, 2B, and 4B)
- Eraser
- Sharpener
- Reference images of birds (optional)
Having a reference image can be helpful, especially if you’re new to drawing birds. Look for photographs or illustrations that capture the pose and proportions of the bird you want to draw.
Sketch the Basic Shapes
Start by lightly sketching the basic shapes that will form the foundation of your bird. Begin with an oval for the body, a smaller circle for the head, and a curved line for the beak. Use light, quick strokes to outline the shapes, focusing on capturing the overall proportions and posture of the bird.
Define the Outline
Once you’re satisfied with the basic shapes, begin to define the outline of the bird with darker pencil lines. Pay attention to the contours and curves of the body, tail, wings, and beak, refining the shapes as you go. Take your time and work slowly, using short, confident strokes to create smooth, flowing lines.
Add Details
With the outline in place, it’s time to add details to your bird. Start by drawing the eyes, using small circles or ovals to create a sense of depth and expression. Then, add feathers to the body, wings, and tail, using short, overlapping lines to create texture and volume. Don’t worry about getting every detail perfect – focus on capturing the overall impression of the bird’s plumage and features.
Shade and Texture
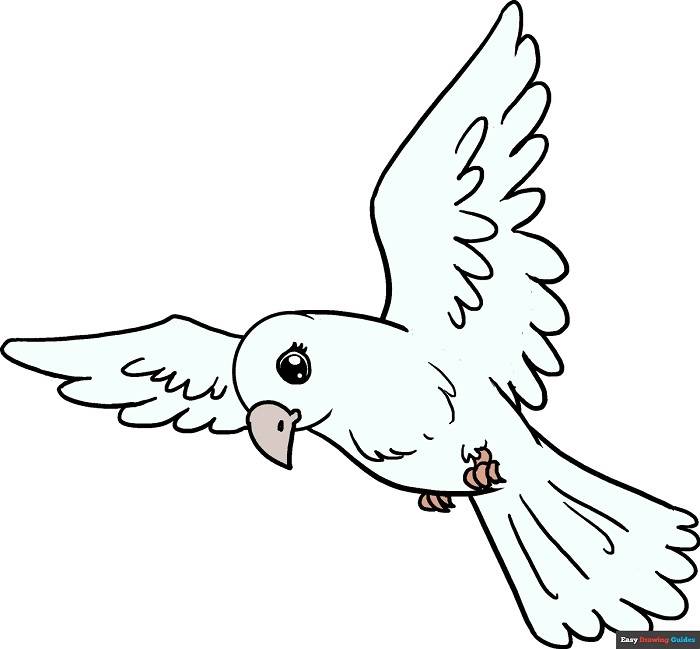
To bring your bird to life, add shading and texture to your drawing. Use a softer pencil (2B or 4B) to darken areas of shadow and create depth and dimension. Pay attention to the direction of light and shade, using hatching and cross-hatching techniques to build up layers of tone and texture. Experiment with different pencil pressures and stroke patterns to achieve the desired effect, and don’t be afraid to blend and smudge your lines to create smooth transitions between light and shadow.
Final Touches
Once you’re happy with the overall look of your drawing, take a step back and assess any areas that may need further refinement or adjustment. Use your eraser to lighten or correct any mistakes, and add any final details or highlights to enhance the realism of your bird. Take your time and trust your instincts – drawing is a process of trial and error, and each stroke brings you closer to realizing your vision.
Drawing a bird can be a challenging yet immensely rewarding experience, allowing you to express your creativity and appreciation for the natural world. Whether you’re drawing for pleasure, relaxation, or as part of a larger artistic project, remember to enjoy the process and embrace the imperfections – after all, it’s the journey, not the destination, that truly matters. So keep practicing, keep experimenting, and most importantly, keep drawing – the world is waiting to see your beautiful creations take flight!
